In our previous tutorial, we have explained how to setup DKIM server along with the DKIM TXT record, on your domain registrar panel. Now let’s configure SPF policy for your domain in order to be marked as SPAM by popular email hosting service provider such as GMAIL, YAHOO, HOTMAIL, OUTLOOK, etc.
Step 5: SPF Policy Setup
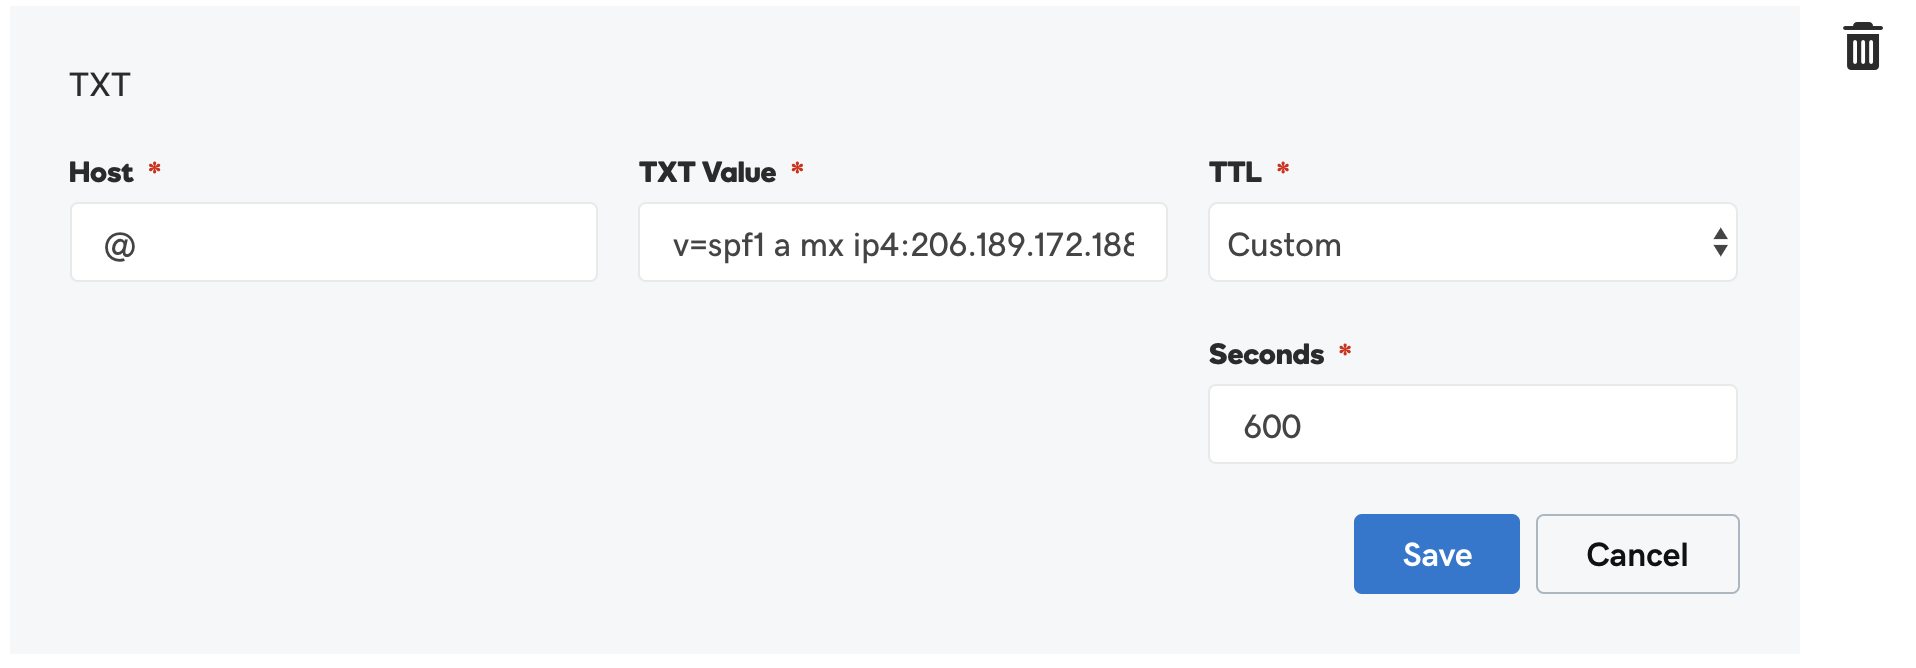
In order to prevent your emails to go to the SPAM folder, you also need to add following SPF TXT record to your domain registrar as follows. Also, we have demonstrated with a screenshot.
v=spf1 a mx ~all
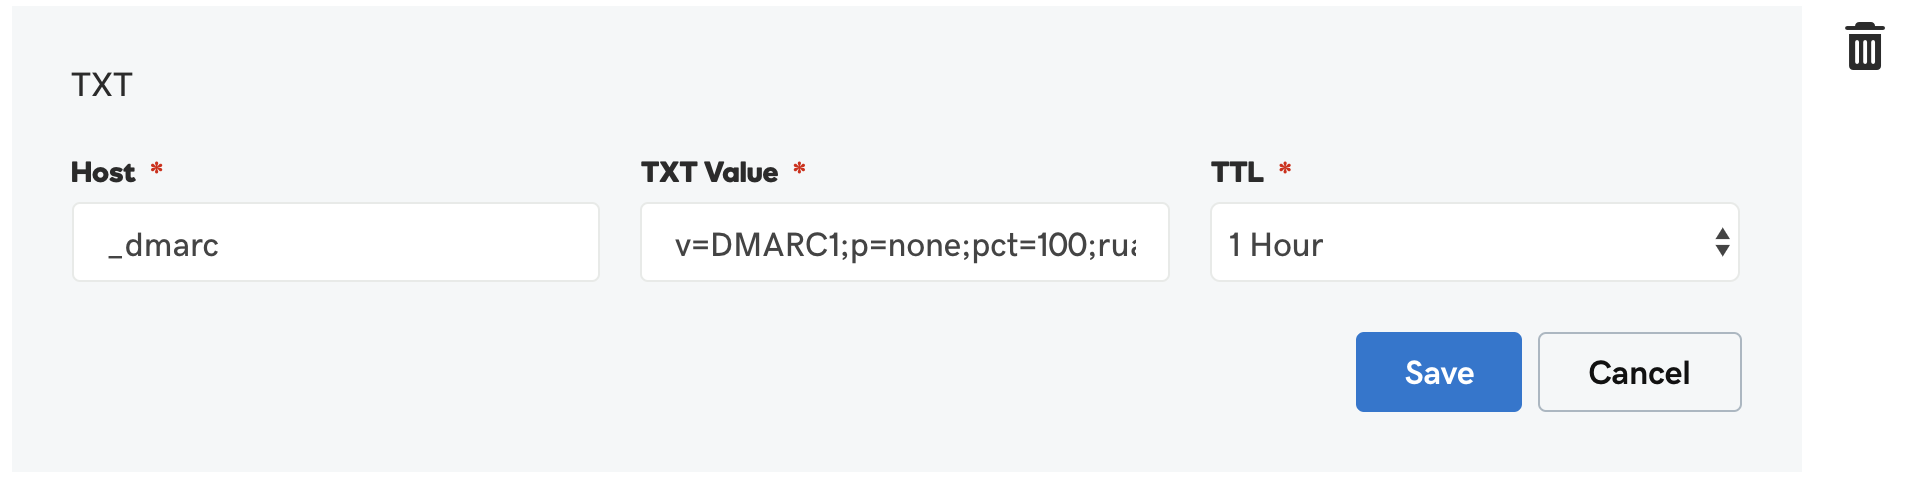
Now we should be ready to send emails without being marked as SPAM. In order to get the report and statistics, you may also like to configure DMARC TXT record as follows. You need to replace with your technical support email address here.
v=DMARC1;p=none;pct=100;rua=mailto:webmaster@example.com;ruf=mailto:webmaster@example.com
Step 6: Test your SMTP Setup
As we are all ready with our production setup, lets try our setup for sending an LIVE email to an real GMAIL address. Let’s cross our fingers that the server IP is not blacklisted so that email doesn’t go to SPAM.
#!/usr/bin/python

import smtplib

sender = 'no-reply@example.com'
receivers = ['email.address@gmail.com']

message = """From: Example Notification <fno-reply@example.com>
To: Some Person <email.address@gmail.com>
Subject: Postfix SMTP Server Setup Test

This is a test e-mail message to test our newly configure Postfix SMTP server.
"""

try:
   smtpObj = smtplib.SMTP('localhost', 587)
   smtpObj.sendmail(sender, receivers, message)
   print "Email sent"

except SMTPException:
   print "Error: Unable to send email"
Conclusion:
Hope now you will be able setup your own POSTFIX SMTP server with different standard security settings for modern day email provider. Feel free to get back us via comments below for any queries or suggestion you might have.